Zmluvné podmienky - Praktický sprievodca pre webové stránky

Predtým, ako začnete zbierať údaje o používateľoch alebo spracovávať platby, zverejnite jasnú stránku Zmluvných podmienok. Definujte povahu dohody a rozsah licencie, ktorú udeľujete používateľom na prístup k stránke a jej používanie. Tento dokument by mal byť právne záväzný, mal by uvádzať, čo zahŕňa, a špecifikovať čiastku, ktorú môžete účtovať za služby alebo funkcie. Tiež objasňuje, že iba používatelia, ktorí ho akceptujú, sú ním viazaní.
Umožnite používateľom vybrať si preferencie upozornení, pričom zabezpečte, aby základné podmienky zostali nemenné. Poskytnite jasné upozornenie na autorské práva a vyhlásenia o vlastníctve obsahu generovaného používateľmi a špecifikujte, že autorské práva zostávajú vám, pokiaľ nie je udelená samostatná licencia. Zahrňte formálny proces na nahlasovanie porušení a zabezpečte, aby boli nahlásené porušenia preskúmané do 5 pracovných dní.
Ak vaša stránka ponúka fyzické služby, ako napríklad prenájom kolobežiek, rozpíšte bezpečnostné pravidlá a výnimky. Uveďte, že nezodpovedáte za telesné zranenia alebo škody na majetku, pokiaľ neboli spôsobené hrubou nedbanlivosťou, a stanovte limit zodpovednosti rovnajúci sa čiastke zaplatenej za posledných 12 mesiacov. Zahrňte štandardné zrieknutie sa záruk a plán odškodnenia pre váš tím a partnerov.
Zahrňte ustanovenie o obnove, že váš súhlas s podmienkami sa automaticky obnovuje každých 12 mesiacov, pokiaľ nie je zrušený. Popíšte, ako budete používateľov informovať o aktualizáciách a požadovať aktívne prijatie podstatných zmien. Zosúlaďte pravidlá s vládnymi nariadeniami a štandardnými postupmi a uveďte, že na kontrolu súladu možno konzultovať s nezávislým recenzentom alebo dôveryhodným poradcom.
Vysvetlite zhromažďovanie, uchovávanie a spracúvanie údajov s tým, že vaše postupy rešpektujú súkromie používateľov a sú v súlade s platnými zákonmi. Objasnite, aké údaje zhromažďujete, ktoré zahŕňajú identifikátory, ako dlho ich uchovávate a vaše práva na prístup, opravu alebo vymazanie. Ak používate služby tretích strán, uveďte ich názov a popíšte licenčné podmienky, za ktorých fungujú. Potvrďte, že vaše pravidlá sú právne v súlade a podložené štandardným rámcom pre manipuláciu s údajmi.
Praktické kroky na udržanie štandardu: hostujte samostatnú stránku Zmluvných podmienok, umiestnite prominentný odkaz v päte, pridajte jasný banner so súhlasom s používaním súborov cookie a zaznamenávajte nahlásené incidenty na zlepšenie procesov. Preskúmajte a obnovte podmienky aspoň raz ročne a udržiavajte auditnú stopu pre zmeny na podporu zodpovednosti.
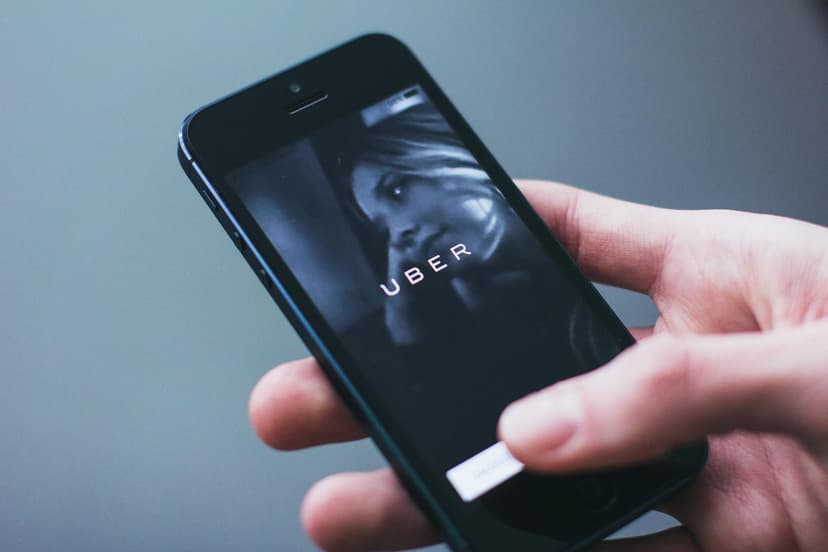
Čo je Uber One a komu sa fakturuje

Zaregistrujte sa do Uber One pomocou podpísaného účtu, ktorý kontrolujete, a skontrolujte spôsob platby v každom cykle, aby ste sa uistili, že vám bude fakturované správne.
Uber One je platené predplatné, ktoré poskytuje pohodlie pri jazdách Uber a súvisiacich službách tam, kde sú podporované. Plán sa automaticky obnovuje mesačne alebo ročne a poplatky sa zobrazujú na spôsobe platby, ktorý je registrovaný pre daný podpísaný účet. Výhody sa vzťahujú na jazdu uskutočnenú v rámci daného účtu a na oprávnené objednávky v rovnakom meste alebo regióne, kde sa ponúka Uber One.
Komu sa fakturuje a ako:
- Fakturuje sa predplatiteľovi, ktorého účet sa zaregistroval do Uber One. Poplatky sa účtujú na spôsob platby, ktorý je registrovaný pre daný účet, nie pre každého jazdca, ktorý používa službu.
- Ak získa prístup tretia strana, jej akcie sa môžu stať a môžu viesť k poplatkom; uchovávajte prihlasovacie údaje v tajnosti, aby ste predišli neoprávnenému prístupu, a okamžite nahláste akúkoľvek podozrivú aktivitu vedeniu.
- V kancelárskych alebo firemných prostrediach môže fakturáciu spravovať správca alebo držiteľ podpísaného účtu; poplatky zostávajú viazané na účet, ktorý sa zaregistroval do Uber One.
- Keď dôjde k fakturačnej udalosti, dostanete upozornenie so sumou, obdobím a stavom, aby ste si mohli pozrieť, čo sa stalo a čo je kryté.
- Uber môže zmeniť ceny alebo podmienky; budete informovaní o takýchto zmenách a môžete odstúpiť, ak nespĺňajú vaše primerané očakávania.
- Ak účet používa viacero jazdcov, kolektívne profitujú z Uber One a ich jazdné aktivity sú kryté podpísaným účtom.
Zrušenie a vrátenie peňazí:
- Môžete odstúpiť od Uber One kedykoľvek; odstúpenie nadobúda účinnosť na konci aktuálneho cyklu a zabraňuje novým poplatkom.
- Po odstúpení výhody zanikajú na konci cyklu a budúce poplatky sa zastavia; vrátenie peňazí za nevyužitý čas sa riadi príslušnými pravidlami.
Ďalšie poznámky:
- Prezrite si obmedzenia výhod