Cloud Billing - Invoices & Receipts, Stay Organized with Collections, Save & Categorize Content by Your Preferences
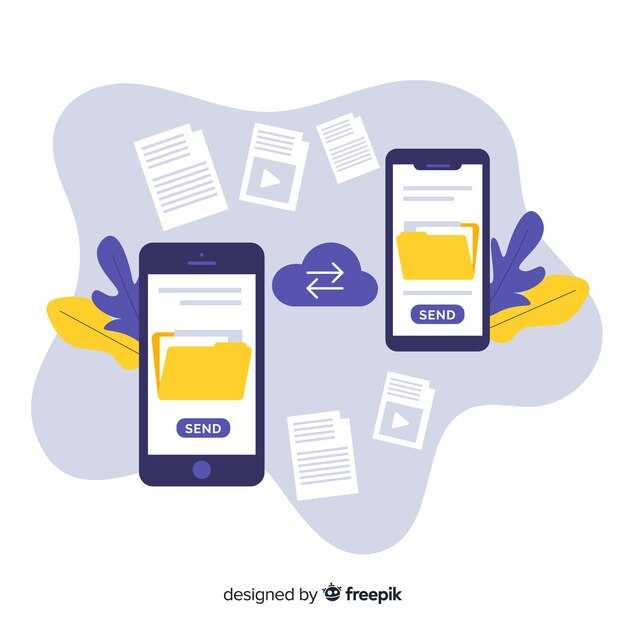
Recommendation: enable auto-export of invoices and receipts to your cloud workspace, then set up a custom collection system that split entries by date and client so you can see a summary at a glance and move on with your work fast on due invoice items.
Collections keep you organized: group by client, project, or storefront type; save including receipts, notes, and attachments into a custom tag system. Tag with fields like date, registrant or client name, then filter to see what you need in a summary form. Keep sharing limited to trusted teammates to prevent abuse and avoid phishing that could deliver malware. This actually saves time by avoiding duplicates.
Track each invoice's status: paid, due, or overdue, with a due date field and a concise details row. For sharing, attach the actual invoice PDF or the emailed receipt, and keep a quick instructions card for action items. Include vendor name, registrant, amount, tax, and date received to avoid confusion.
Protect against attempts to deceive recipients and deter abuse by enabling MFA, restricting access, and scanning links for malware; never share sensitive data in insecure channels.
Link your workflow apps to keep content synced: anydo for tasks, figma designs linked to invoices, squarespace andor registrant profiles for client data, and use custom fields to align with your process. This speeds up your work and reduces manual errors. Export to CSV or emailed receipts, and keep a single source of truth across platforms.
Define categories by client, project, year, or currency, then save content into those buckets. Use a date filter and a routine summary review to spot unpaid items, then move items to archive collections. For teams, configure permissions so both sides can view needed details without exposing confidential data.
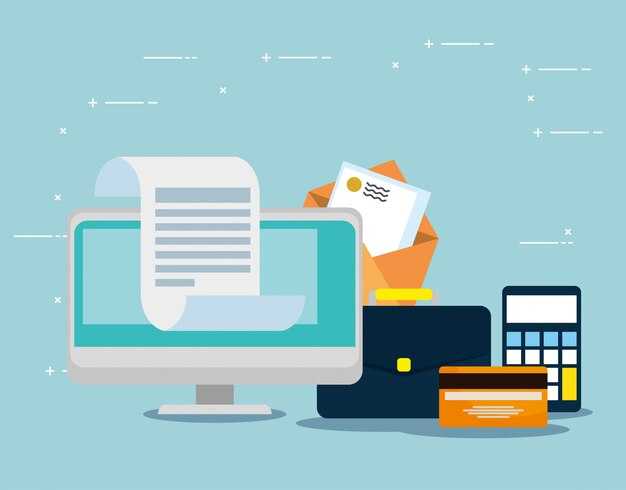
Access, download, and organize invoices and receipts from the Cloud Billing portal
Sign in with your administrator credentials to access invoices immediately from the Cloud Billing portal. Youll land on the Invoices hub and the Collections page, where each row shows Number, Date, Month, Year, Cost incurred, and Status. Use the top filters to refine results by year, monthly period, and domains, and click the source (источник) link for context on each document.
-
Find the right documents quickly: open the Invoices page, set a time window (Year or Monthly), filter by domains, and use the Find field to locate a specific Number or keyword. The last issued items appear first, so you can review recent activity without scrolling.
-
Download options are straightforward: select one or more invoices, then click Download. Choose PDF for formal records or CSV for spreadsheet analysis. Your file names include the Number and Date to help you locate them later, and you can save the bundle to a local folder or a connected drive. If you work with Googles-compatible tools, export to CSV and open in googles-compatible sheets for quick analysis.
-
Organize with customization: adjust Columns to display Number, Date, Month, Year, Cost, Domain, and источник. Create Collections to group documents by Teams, Projects, or Departments. Save the layout so you always see the same columns and order on every visit, time after time.
-
Share and protect data: generate a pass-protected link or assign access rights to Teams. Keep non-public data restricted to authorized people, and use cautious sharing practices to prevent exposure of sensitive cost information.
-
Automate recurring tasks: set up monthly exports for a given year and submit reports to a shared repository. Use scheduled exports to run on a specific day each month, ensuring you never miss an incurred-cost record while saving hours each quarter.
-
Quality checks and time savings: review the number of invoices, verify totals, and use refine and find to reduce time to the exact document. If you notice a discrepancy, submit a correction request through the portal rather than attempting to deceive stakeholders. Your workflow will stay aligned with your teams and rights policy.
Create Collections to group related invoices and receipts by project, client, or date
Implement a targeted Collections approach to organize taxes and receipts by scope. Create a collection for each project so all related documents–invoices, receipts, and transactions–are saved together and easy to review. Use a very clear naming pattern like "PROJ-CLIENT-YYYY-MM" to help registrar notes and audits stay clear. Each collection includes the number of documents and a running summary that helps you read the total amount and tax notes at a glance.
To build it, open your Cloud Billing interface, clicking New Collection, and set the scope to project, client, or date. Name it clearly, then click through the options to include invoices and receipts from that category. You can select individually or in bulk, then add to the collection; saved items stay linked to the original documents.
Group by project: In each project collection, add all related invoices and receipts; the summary panel shows total transactions and the number of documents. You can look at the calendar to see when items were created or received, and you can open any entry to view its details.
Group by client: Create a collection named after the client; include all documents for that client; assign an owner. Set permissions so that only designated users read or edit. When you open the collection, filter by date, project, or status to locate items quickly. If you need to review earlier invoices, use the calendar to select a date range and scan through the related documents.
Group by date: Use calendar filters to isolate items from a given period, such as the current month. Each collection can include documents from multiple projects, but dates drive the organization. The number of items and the summary of transactions help you track cash flow and prepare for taxes.
Security and maintenance: Limit access to users who need it to prevent cybercrime. Note the owner of each collection and registrar notes for audits. If a file is accidentally opened by the wrong person, you can revert permissions or reassign ownership. For testing, you might tag a few items with "apples" to verify the flow, then remove the tag before production.
Export and backup: When you need a formal record, export the collection as PDF or CSV and save it on desktop backup. This keeps a saved snapshot for the period and makes monthly reporting easier. If a user says they cant locate a document, search by client, project, or date range and drill into the specific collection where it belongs.
Save items with tags, notes, and custom categories tailored to your workflow
Begin by creating a concise tag set and two or three custom categories that reflect your workflow. For example, use tags such as "Invoices", "Receipts", "Delivery", "Sites", "Mail", "Figma", and "Code" to classify what you save. Each item gains a context tag like "domain" when it relates to a domain purchase or "registrar" for registration details. This lets you look up all invoices in one click via the sidebar. When you save a receipt, attach a note that captures the project name, number, and amount, and specify the source such as mail or a payment gateway.
Attach notes that mention the project, client names, and the number of the invoice. If you incur charges, mark them as "incurred" and include the amount and date; if a line is cancelled, tag it "cancelled." Use the custom category field to group receipts by client or site, so you can balance totals at a glance.
Save entries with clear fields: number, amount, type (service, product), and a short description. For first-time items, set the category to something distinctive like "first" to avoid misclassification. Caution: avoid duplicating receipts; if you delete, use the delete action or mark the item with a "cancelled" status and log any concerns in the notes.
Organize workflow by combining tags with notes: for example tag a "delivery" receipt with "Site: example.com" and note "registrar: registrar.example; domain: example.com; delivery ETA: 2 days." The "sites" tag helps grouping all site-related costs, and the "domain" tag ensures you can pull all domain-related expenses in one view. Use options to view grouped receipts by category and to balance across accounts.
Practical daily use: open the sidebar, choose filters by client names or company, and view the associated receipts. Use support to resolve concerns about mislabeling. Save and mark items as "complete" once the task closes, keeping the balance aligned with your ledger. andor tagging keeps multi-category items together when they cross domains and registrar records.
Quick tips: keep your tags short and consistent, choose tags before you save, and review monthly to clean up archived items. thank you for keeping records tidy; this practice saves time on mail reviews, maintains clear accounts, and reduces risk when you need to fetch receipts or delete outdated entries.
Set up rules to auto-tag, categorize, and route content to the right collections
Just implement a rule engine that auto-tags, categorizes, and routes content to the right collections using core metadata: date, activity, and incurred amounts. Start with three starter collections: Cloud Costs, Invoices, and Receipts. Create a fallback rule to move untagged items into a Shared/Unsorted collection. Use uppercase tag keys, such as TAG_COLLECTION and TAG_TYPE, to keep filtering consistent.
Use figma to design a tagging taxonomy: define names, entities, and the owner and registrant fields. Choose clear label names; ensure acceptance across teams. Export the taxonomy to feed the rule engine. There, ondrej_klima can test with sample data and verify dates, activities, and incurred amounts align with the intended collections. Keep uppercase keys for consistency across the policy and UI views.
Rule patterns: If description contains “cloud” or activity equals “subscription” and incurred amount is > 0, set TAG_COLLECTION to CLOUD_COSTS and route to the Cloud Costs collection. If date matches the current month and the entity matches a known vendor, set TAG_TYPE to INVOICE and route to Invoices. If an item has a downloaded receipt, tag as RECEIPTS and route accordingly. Use explicit date and activity fields to minimize misclassification, and keep names and entities aligned with your taxonomy.
Example workflow: a registrant uploads an invoice with date 2025-08-15, activity “subscription,” and incurred amount 42.50. The rule marks it CLOUD_COSTS and moves it to the Cloud Costs collection; the UI filter shows CLOUD_COSTS, and the item stays visible under downloaded receipts when applicable. This approach makes it easy for the owner to review later and adjust if needed.
Testing and governance should occur regularly: run automated checks, review policy updates, and log any reported tagging issues. If items were allegedly misplaced, fix the rule, note the change in acceptance records, and publish the update in the policy section for all users. Maintain a clear trail so the registrant and other entities feel confident about where content lands and why.
Operational tips: keep the tagging model compact–some core tags plus a small set of routing rules. Enter new tags only after a quick impact assessment and make sure the sidebar provides fast access to affected collections. For compliance, avoid storing sensitive card data; tag credit vs debit at the metadata level and keep the actual numbers out of the system. Periodically export a downloaded snapshot of the taxonomy to share with stakeholders and verify alignment with your policy, then adjust thresholds and date windows as needed.
Report spam invoices, block senders, and recover misplaced or incorrect charges
Block the sender and report spam invoices immediately to stop further messages. From your mail client, block the sender and mark the message as spam; if you cant access the block option, forward the mail to your IT team and notify your team about issues with this sender. If you dont have access yet, contact support for a quick workaround.
Record essential details: transaction ID, invoice number, date, vendor or company name, and the charged amount, then attach or re-upload the corresponding receipt. Include the sender’s email address and the original date shown on the invoice to prevent mix-ups during review.
Viewing the transaction history helps identify misplaced charges. If you found a duplicate or incorrect entry, compare the invoice line items with the receipt and the earlier charges to verify the discrepancy.
Respond to the vendor and choose the appropriate option to fix the issue: request a correction, apply a credit, or cancelled the erroneous invoice if permitted. Keep a written record of the reply and set expectations for resolution timelines.
If the charge is cancelled or reversed, update the record in Cloud Billing and expand your audit trail. Note the date of the correction and link it to the original receipt for traceability.
Keep documentation for statutory compliance and for your organization: save the receipt, note the date and name, and store copies in a secured folder. Include the company email for a clear contact trail and ensure all files remain accessible to the authorized team.
Within the business process, refine and manage collections of invoices: create a following spam-flag collection and a legitimate-transaction collection; monitor status via the date and name filters to support the billing model and expand automation where possible.
Date the actions and set a follow-up date to prevent recurrences: assign a last owner from your team and expand the review cycle to cover new sender patterns and recurring issues.


