Käyttöehdot – käytännön opas verkkosivustoille

Julkaise selkeät käyttöehdot -sivu ennen käyttäjätietojen keräämistä tai maksujen käsittelyä. Määrittele sopimuksen luonne ja käyttöoikeuden laajuus, jonka myönnät käyttäjille sivuston käyttöön ja pääsyyn. Tämän asiakirjan tulisi olla juridisesti sitova, siinä tulisi ilmoittaa, mitä se sisältää, ja eritellä summa, jonka voit veloittaa palveluista tai ominaisuuksista. Siinä myös selvennetään, että vain ehdot hyväksyvät käyttäjät ovat niihin sidottuja.
Anna käyttäjien valita ilmoitusasetukset ja varmista samalla, että olennaiset ehdot pysyvät muuttumattomina. Tarjoa selkeä tekijänoikeushuomautus ja omistajuutta koskevat ilmoitukset käyttäjien luomalle sisällölle ja määritä, että tekijänoikeus pysyy sinulla, ellei erillistä käyttöoikeutta myönnetä. Sisällytä virallinen ilmoitusprosessi loukkauksista ja varmista, että ilmoitetut rikkomukset tarkistetaan 5 arkipäivän kuluessa.
Jos sivustosi tarjoaa fyysisiä palveluita, kuten potkulautojen vuokrausta, selvitä turvallisuussäännöt ja vastuuvapautukset. Ilmoita, että et ole vastuussa ruumiinvammoista tai omaisuusvahingoista, ellei niitä ole aiheutettu törkeällä huolimattomuudella, ja aseta vastuun enimmäismääräksi viimeisten 12 kuukauden aikana maksettu summa. Sisällytä vakio takuuvapauslauseke ja suunnitelma tiimisi ja kumppaneidesi vahingonkorvaamisesta.
Sisällytä uudistamista koskeva ehto, jonka mukaan suostumuksesi ehtoihin uudistuu automaattisesti 12 kuukauden välein, ellei sitä peruuteta. Kuvaile, miten ilmoitat käyttäjille päivityksistä ja edellytät aktiivista hyväksyntää olennaisille muutoksille. Yhdenmukaista käytäntö valtion säädösten ja vakiintuneiden käytäntöjen kanssa ja ilmoita, että riippumaton tarkastaja tai luotettu neuvonantaja voidaan kutsua tarkistamaan vaatimustenmukaisuutta.
Selitä tietojen kerääminen, säilyttäminen ja käsittely ja huomioi, että käytäntösi kunnioittavat käyttäjien yksityisyyttä ja noudattavat sovellettavia lakeja. Selvennä, mitä tietoja keräät, mukaan lukien tunnisteet, kuinka kauan säilytät niitä ja oikeutesi käyttää, korjata tai poistaa niitä. Jos käytät kolmannen osapuolen palveluita, nimeä ne ja kuvaile käyttöoikeusehdot, joilla ne toimivat. Vahvista, että käytäntösi on juridisesti vaatimustenmukainen ja sitä tukee vakio tiedonkäsittelykehys.
Käytännönläheiset askelmerkit vakion pitämiseksi voimassa: ylläpidä erillistä käyttöehdot-sivua, sijoita näkyvä linkki alatunnisteeseen, lisää selkeä evästeiden suostumusbanneri ja kirjaa ilmoitetut tapahtumat prosessien parantamiseksi. Tarkista ja uusi ehdot vähintään kerran vuodessa ja ylläpidä muutosketjujäljitystä muutoksille vastuullisuuden tukemiseksi.
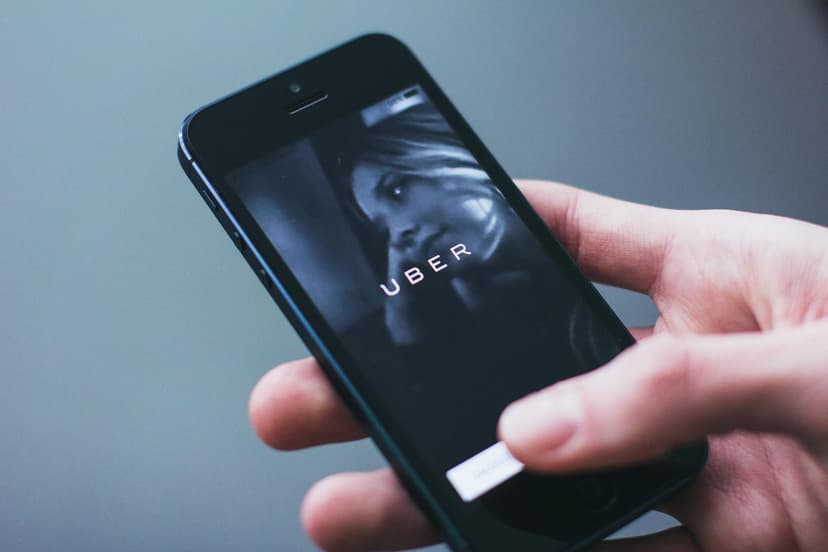
Mikä Uber One on ja ketä laskutetaan

Rekisteröidy Uber Oneen hallitsemallasi allekirjoitetulla tilillä ja tarkista tiedostossa oleva maksutapa jokaisella jaksolla varmistaaksesi, että sinua laskutetaan oikein.
Uber One on maksullinen tilaus, joka tarjoaa mukavuutta Uber-kyytien ja niihin liittyvien palveluiden parissa siellä, missä niitä tuetaan. Suunnitelma uusiutuu automaattisesti kuukausittain tai vuosittain, ja veloitukset näkyvät allekirjoitetun tilin tiedostossa olevalla maksutavalla. Edut koskevat kyytien ajamista kyseisellä tilillä ja kelvollisia tilauksia samassa kaupungissa tai alueella, jossa Uber Onea tarjotaan.
Ketä laskutetaan ja miten:
- Uber Oneen rekisteröityneen tilin tilaajaa laskutetaan. Veloitukset veloitetaan kyseisen tilin tiedostossa olevalta maksutavalta, ei jokaiselta palvelua käyttävältä matkustajalta.
- Jos kolmas osapuoli saa pääsyn, heidän toimenpiteensä voivat tapahtua ja johtaa veloituksiin; pidä kirjautumistunnukset luottamuksellisina estääksesi luvattoman pääsyn ja ilmoita kaikesta epäilyttävästä toiminnasta toimistolle välittömästi.
- Toimisto- tai yritysympäristöissä laskutuksesta voi huolehtia järjestelmänvalvoja tai allekirjoitustilin haltija; veloitukset pysyvät sidoksissa Uber Oneen rekisteröityneeseen tiliin.
- Kun laskutustapahtuma tapahtuu, saat ilmoituksen, jossa on summa, jakso ja tila, jotta voit tarkistaa, mitä tapahtui ja mitä katetaan.
- Uber voi muuttaa hinnoittelua tai ehtoja; sinulle ilmoitetaan tällaisista muutoksista ja voit vetäytyä, jos ne eivät vastaa kohtuullisia odotuksiasi.
- Jos useat matkustajat käyttävät tiliä, he kaikki hyötyvät Uber Onesta, ja heidän ajotoimintansa katetaan allekirjoitetulla tilillä.
Peruutus ja hyvitykset:
- Voit vetäytyä Uber Onesta milloin tahansa; vetäytyminen tulee voimaan kuluvan jakson lopussa ja estää uudet veloitukset.
- Vetäytymisen jälkeen edut lakkaavat jakson lopussa ja tulevat veloitukset lakkaavat; käyttämättömän ajan hyvitykset noudattavat sovellettavaa käytäntöä.
Lisähuomautukset:
- Tarkista etujen rajoitukset